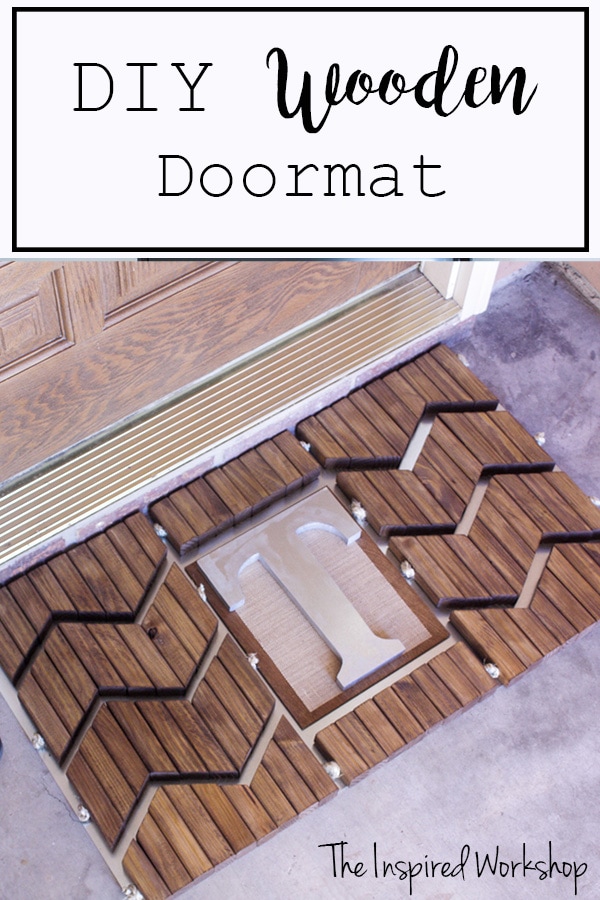
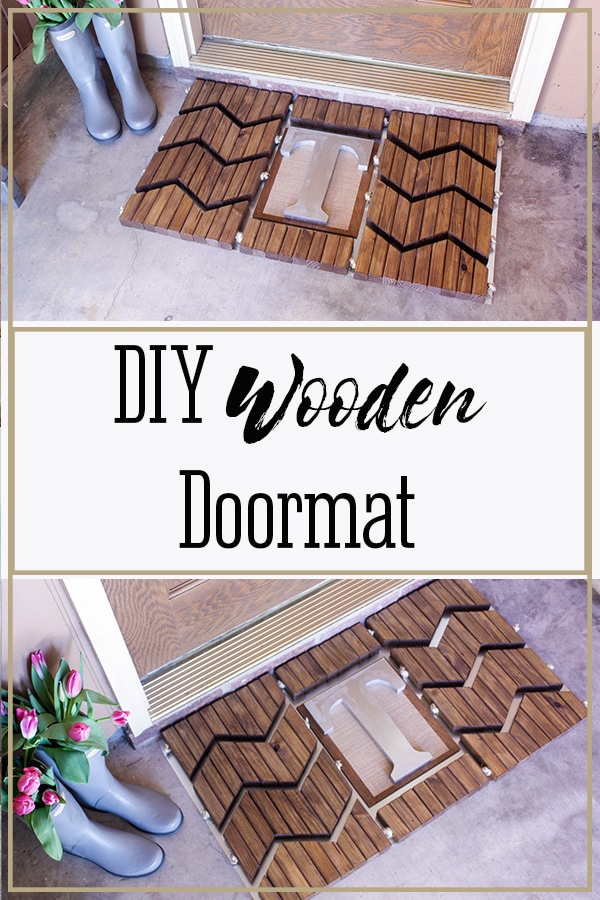
DIY Doormat
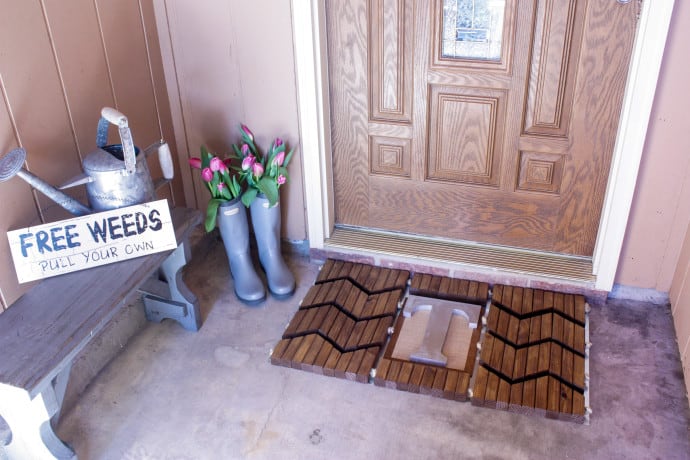
Make yourself a personalized and unique DIY doormat to welcome your friends and family into your home! This beautiful herringbone doormat is easy to throw together and makes a bold statement at your door! A few bucks to have yourself a high end looking doormat!
This post is sponsored by The Home Depot!
Home Depot challenged a group of DIY bloggers to make a DIY doormat using 2×2 balusters and put their own spin on it! Home Depot will be showing everyone how to make a doormat during their DIY workshop this weekend! Y’all there are some pretty great doormats that people made and you can go to the bottom of this post to find links to them all!
Here is the one Home Depot will be making in-store this weekend!
They asked us to get creative and I think I may have been thinking zebras when they were thinking horses but I love it and I hope you do too!! If you would like to make my version, I will give you a tutorial on the couple of changes I made to their door mat down below!
**Update: The Home Depot has now made all of its workshops virtual so you can sign up to take them in the comfort of your own home! Sign up for DIY Workshops at Home Depot!
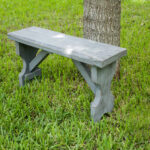
Looking for some other projects to spruce up your front porch to do with this DIY doormat? Check out these planters that would look great next to the doormat! DIY Scrap Wood Planter, DIY Planter Boxes, DIY Large Planter Box
Gathering Supplies for DIY Doormat
I started off with most of the same materials that the workshop called for but added a few extras:
Materials for DIY Doormat:
- 13 – 2x2x36″ balusters (the workshop called for 8)
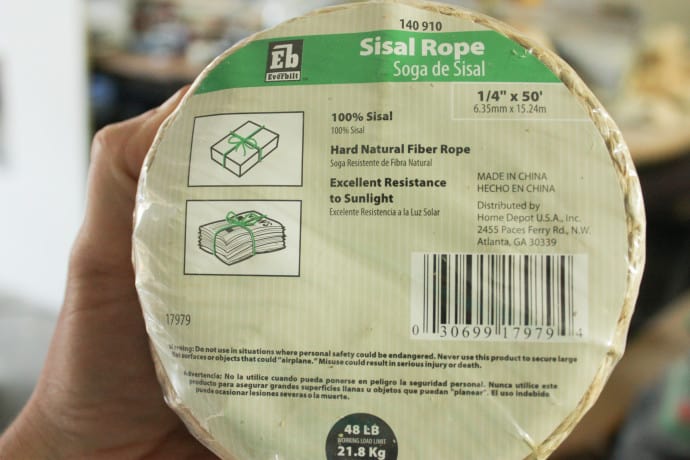
- 1/4″ sisal rope
- 24″ x 36″ metal sheet
- 12″ x 12″ metal sheet (or just buy a galvanized metal letter already made…much smarter option)!
- 3/8″ drill bit
- drill or drill press (I suggest a drill press…it makes it so much easier to drill holes quickly and evenly)
- scrap wood for cutting a letter or picture of your choice
- screws
- saw
Cut List for DIY Doormat:
- Hard to give measurements, see below!
Building the DIY Doormat
I started off by cutting all the ends of the balusters to get clean fresh ends, then cut them all into two 17 1/2″ pieces.
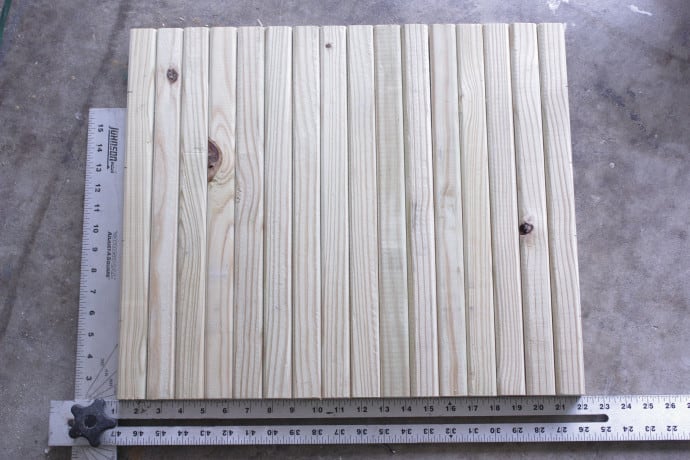
In the beginning, I only cut 8 balusters and then later decided that I wanted to make a much larger mat and added 5 more balusters (when each is cut in half that means 10 more)!
Next, I took and set my table saw to 32 degrees off square…
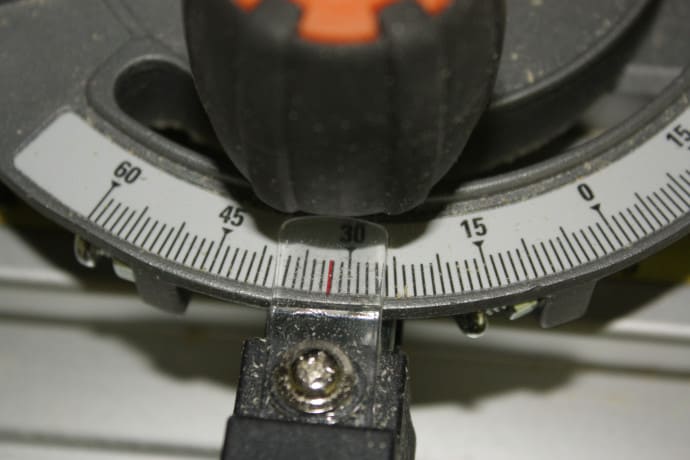
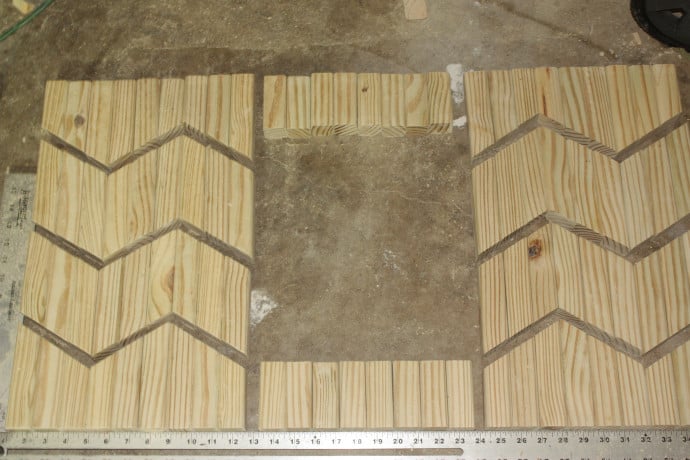
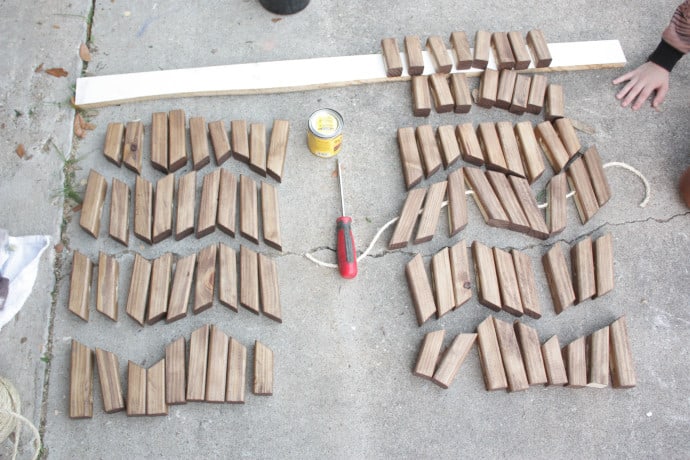
Once I had the miter set to 32 degrees off square, I cut three of the balusters at one time in the same direction, I started the first cut on them at 3″ which made the longest section of the three pieces at 5 1/8″, then I would move down about 4 5/8″ and cut again, then move down 4 5/8″ and cut, then the last one is already cut for you and it should be the opposite of the one you started with…5 1/8″ on the left now and 3″ on the right!! Did that make any sense?! Your balusters should end up in four pieces like in the picture below!
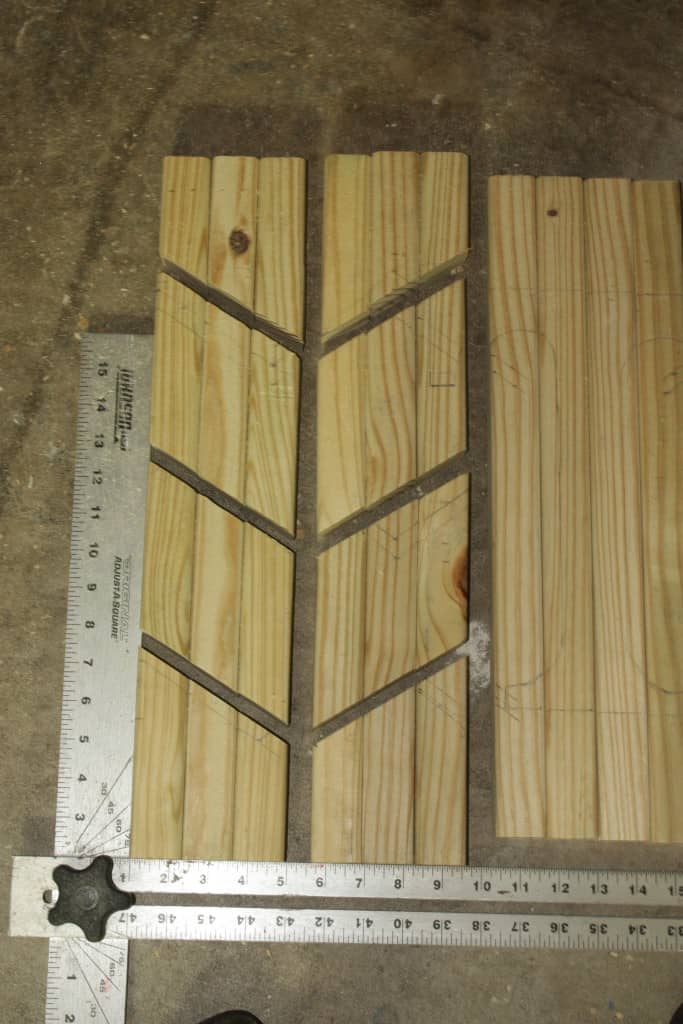
As you can see in the pictures there are rough sketches everywhere…I changed the design of the DIY doormat…oh, I don’t know…a hundred times!! Lol!!
I cut all the angled balusters before coming back and cutting the straight ones, I didn’t want to have to adjust the miter!!
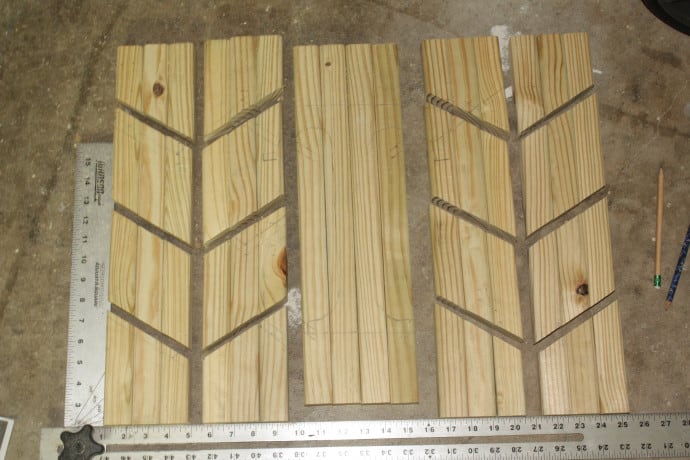
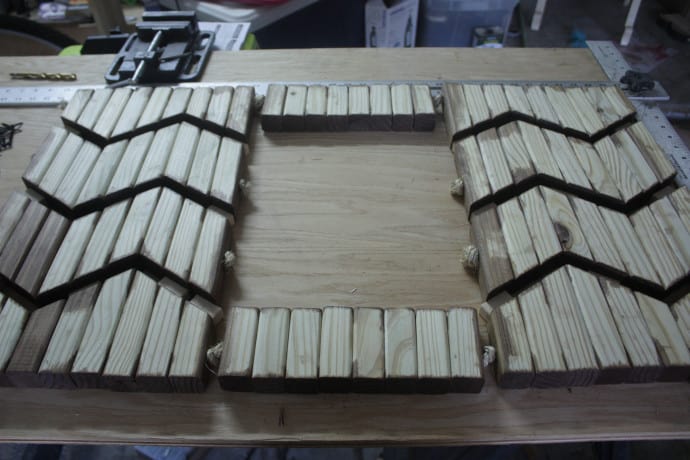
Right here was plan 58, and I changed my mind and wanted more so I added six more angled balusters and then cut all my 3 1/4″ straight pieces for the top and bottom!
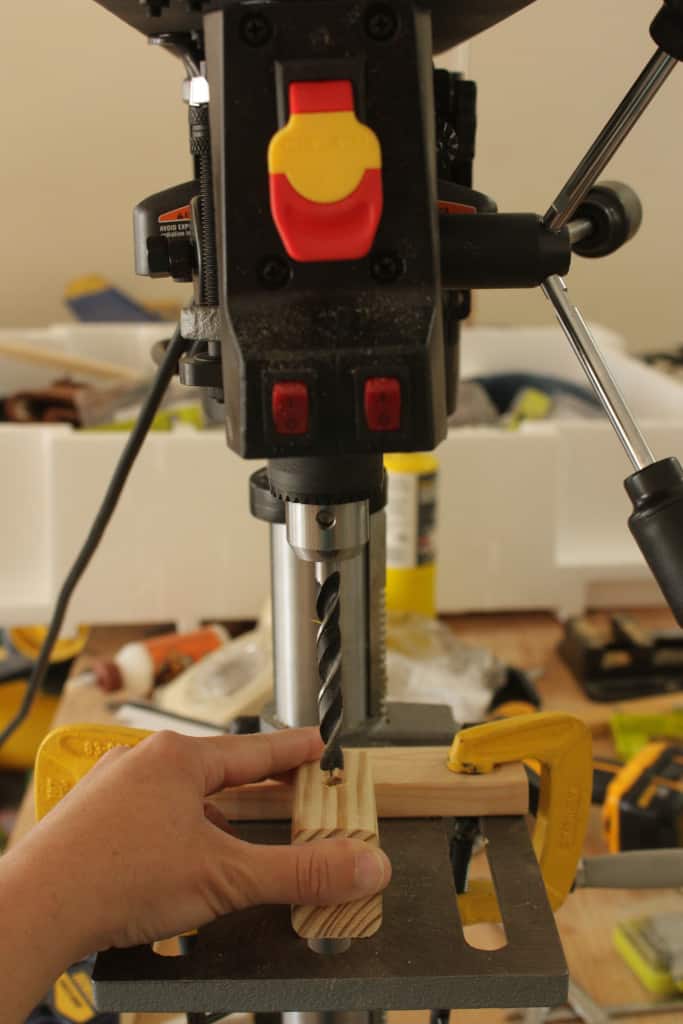
Once I figured it was big enough and all was well, I had to drill holes in ALL of these little guys, not the smartest idea to add more pieces I realized during this moment! Lol!
Luckily, I also added one more tool to my collection recently! A drill press! My hubby has been making my kiddos pretend swords and knives out of metal (not sharpened of course) but making handles for them and fancy guards is not the easiest by hand, so I picked up a drill press…for him of course! Lmao! I will just use it way more but you know it’s the thought that counts, and I did think of him when purchasing this!!
So I had to set it up, the top and bottom all being straight across one side were so easy. Just drill a straight hole one inch from the top of the straight edge. No big deal!!
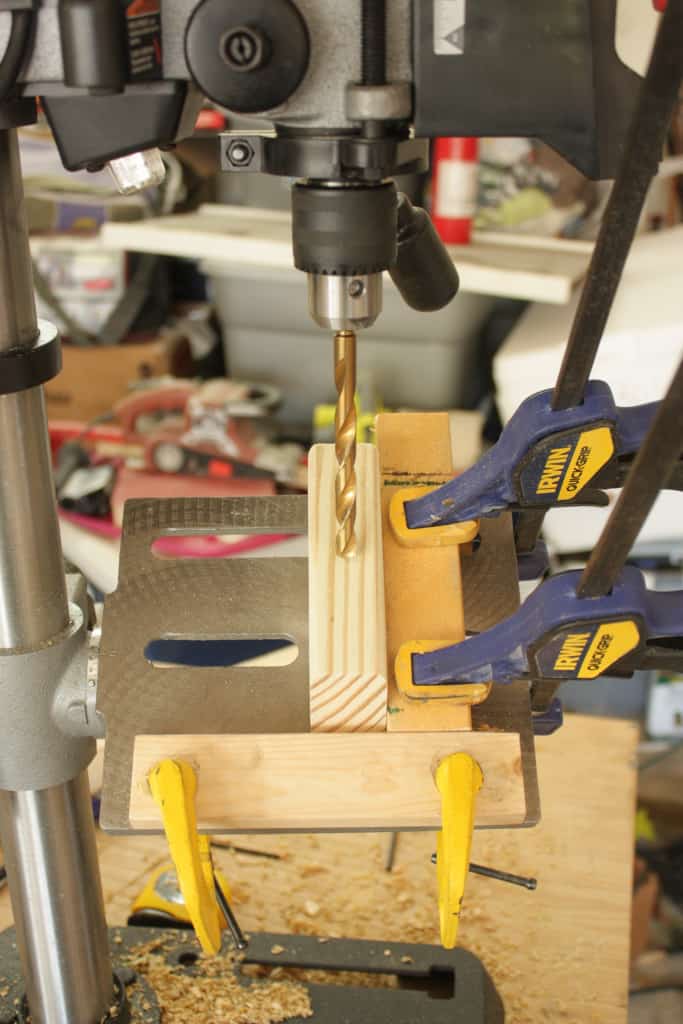
But when it came time to drill the angled holes, at first I was just not even thinking and was going to drill them straight too and they were going to magically line up!! Nope!! Not happening! Of course, they weren’t going to line up, the top and bottom were cut at an angle, so I just had to adjust the bevel on the drill press.
If you don’t have a drill press and don’t plan on buying one, you can always buy this little drill guide that mounts to your drill and allows you to drill holes at an angle. I have never used one though, so I cannot say how they do or do not work, it was just a thought because they are cheaper than a drill press and they have excellent reviews on Amazon!!
I rigged myself a little jig so I could just slide each one in and drill. It still took me probably two hours of straight drilling to get them all drilled!!
After drilling ALL those holes, I had to sand ALL the little pieces, I think I counted 82 in all. It was late I could be way off, it may have been 184, just kidding, I really think it was 82! Sanding them doesn’t rank up there with any of the most fun things I’ve done in my life but I did survive, so that’s always a plus!! LoL!!
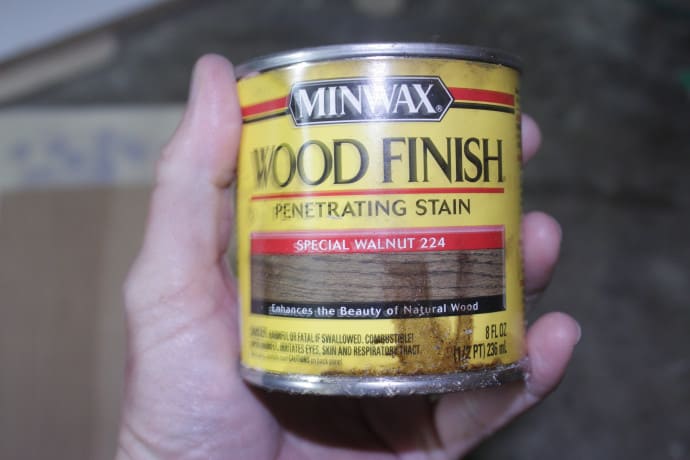
Then once they were beautifully sanded, I had to stain ALL of the pieces…at this point I was thinking, “Why did I want so many pieces, what was wrong with Home Depot’s DIY doormat version with only 16 large pieces!!” But again, I did survive! I stained them in Minwax Special Walnut!
The rope used to tie them together is just plain ‘ole 1/4″ sisal!
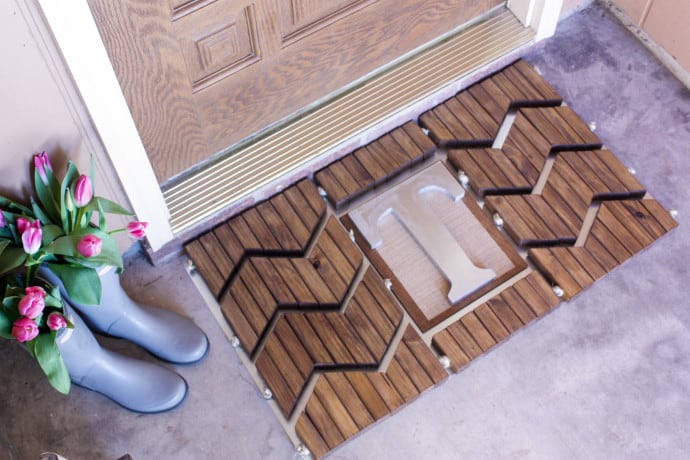
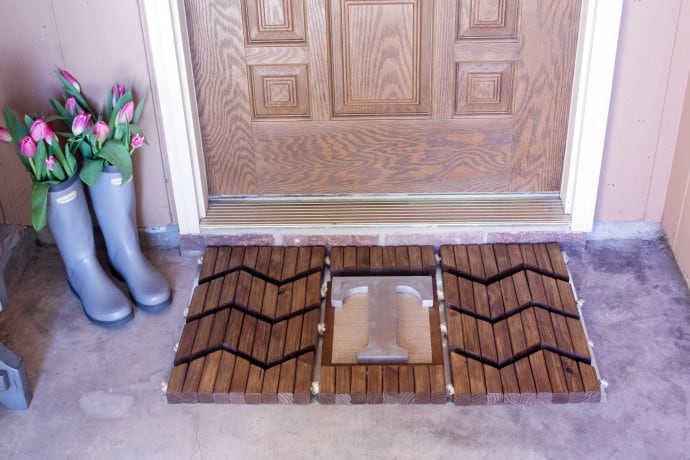
Tying them all was the fun part, finally getting to see my vision for this DIY doormat come together and not just pieces…all those pieces!😳 The top and bottom were knotted but not cut in between the different sections of wood!
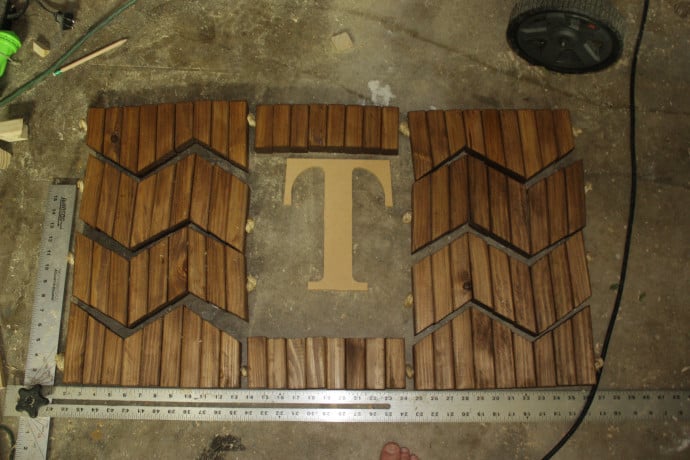
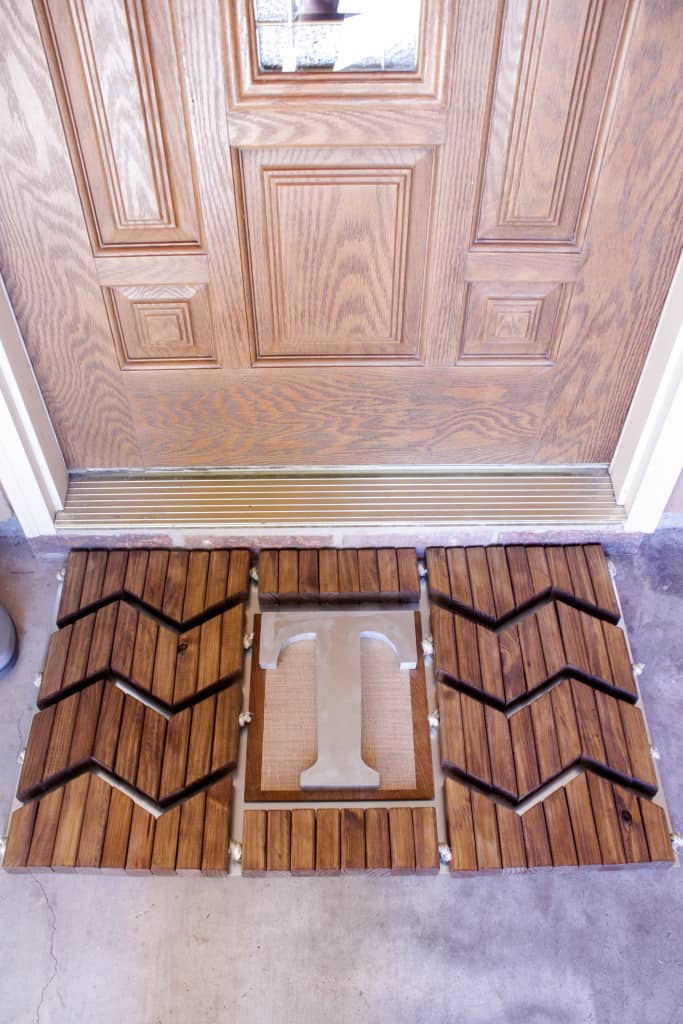
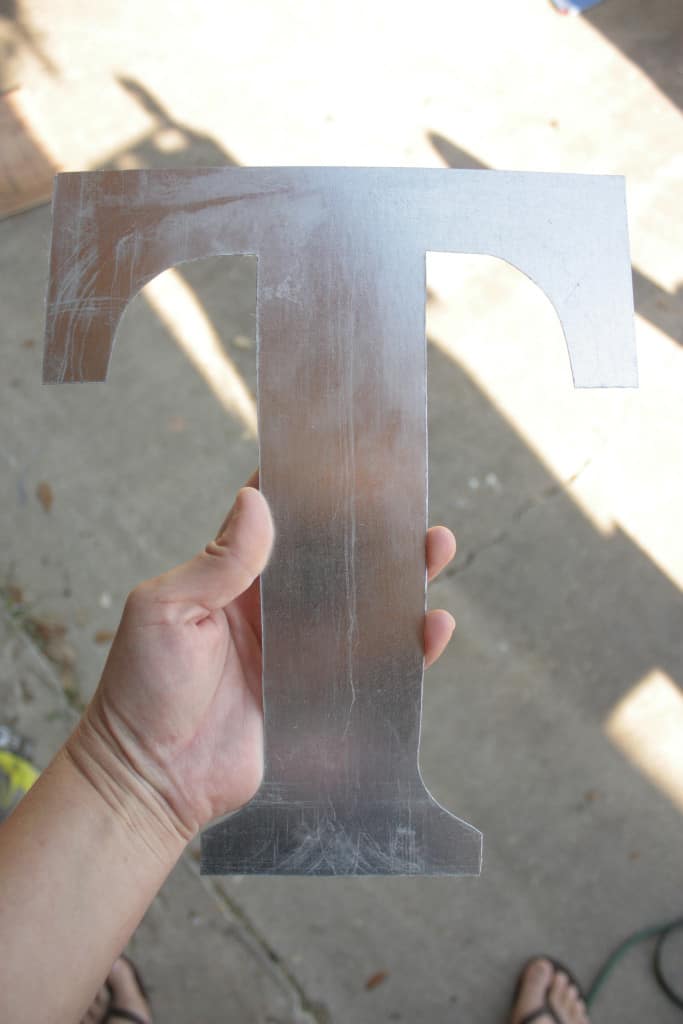
Next, I had to cut out the T. The one in the picture was one I had laying around in my garage, but it was a little too small and so I grabbed a scrap piece of 1×10 and drew one similar to the one pictured above and cut it out with my jigsaw!!
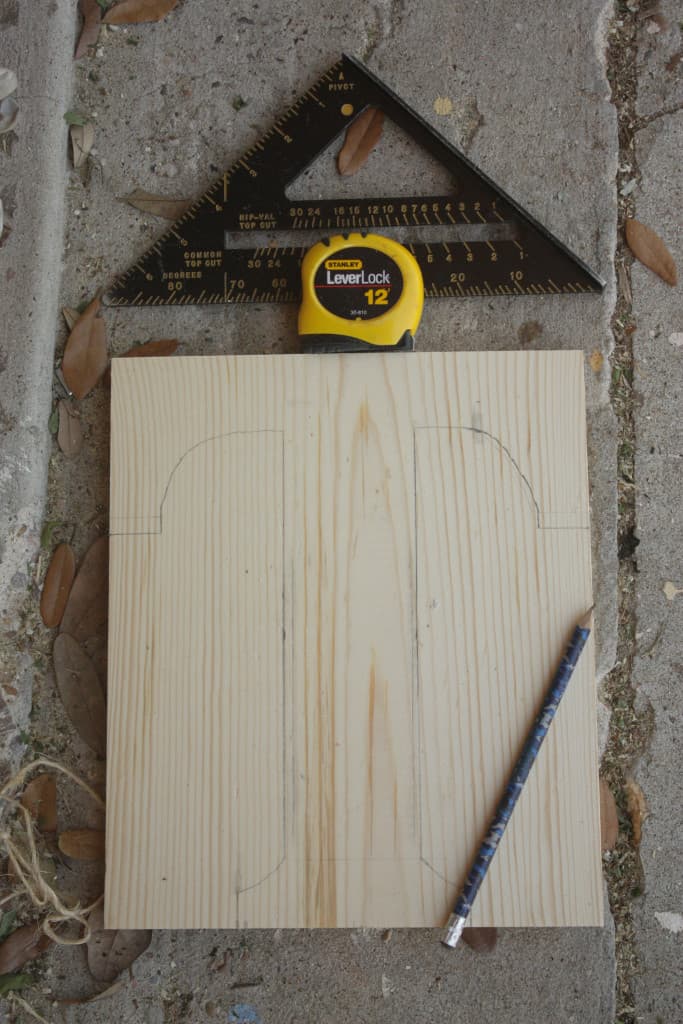
Easy enough, but definitely not perfect! We are going to step on it every day…it doesn’t have to be perfect!! Lol!
Then I traced the wooden T onto the small piece of sheet metal I bought and cut it out using the jigsaw as well, I had always used metal shears and hated the way the edges always became really wavy. A quick internet search while standing in Home Depot led me to these awesome jigsaw blades! And they worked great! FYI, you could save yourself a ton of time by just purchasing a galvanized letter that you like at any store!! Ha!
Next, I cut a small square of 1/4″ plywood to place below my letter on the mat! If you are going to use your DIY doormat somewhere that water will be able to get to it, you may want to use something other than plywood for this!
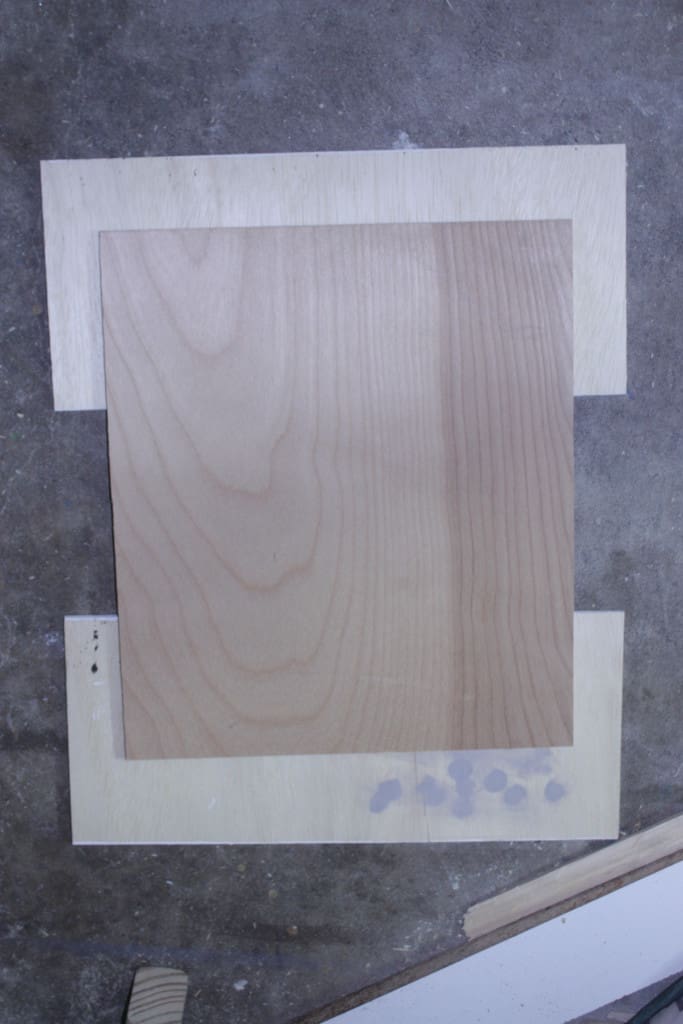
I just stained it the same special walnut, and then last, I cut the large sheet metal piece down to 20″ x 36″ to fit my wooden pieces just right!!
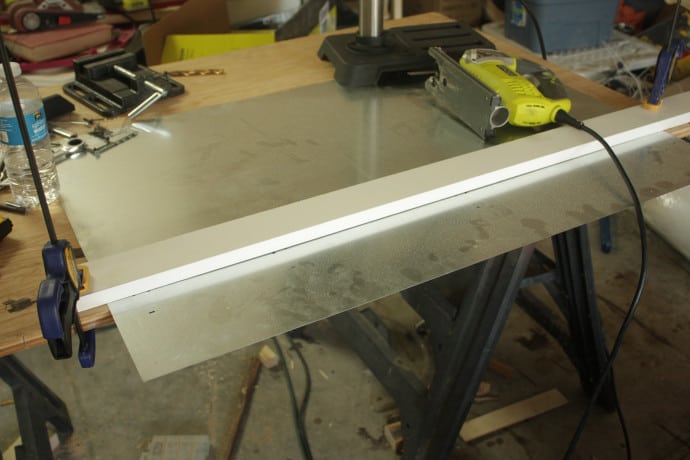
I then turned all the pieces upside down.
And then placed the sheet metal on top and screwed small screws in every so many boards just to hold it securely to the metal sheet but still allow for dirt to be shaken out!! I thought I took a picture of this but it wasn’t included in my uploaded pics so I will update it shortly if I can find it!
NOTICE: Be very careful as this sheet metal is VERY sharp! Make sure and keep your little hands and feet away from the edges of the metal even once you have made the mat!
Screwing the middle letter in without using any glue holds your 1/4″ plywood on and makes it very easy to change out the center design! For instance, you could cut out a cute little bunny and have a bunny mat for Easter and then change it back to a monogram letter for the rest of spring! The options are endless!! I added a scrap piece of burlap fabric cut in a small rectangle to just add a little something extra. I just modge podged it to the 1/4″ plywood. I’m not sure how long it will hold up but I can just replace it if it needs to be!!
Update: I used this DIY doormat for 2 1/2 years before I changed it out and it still looked pretty good!
Viola!! It’s pretty much done! Now, my door area does not ever get wet because it is so long and narrow but if you are planning on placing this somewhere outside and it will get wet, make sure and poly it with an outdoor poly, if it is stained it shouldn’t change the color, but I have yet to find an outdoor poly that won’t yellow white paint just for the record!! If you know of one PLEASE let me know!!
Check out the Variations of DIY Doormats
Make sure and check out everyone else’s DIY doormats! Using the same basic material, 2×2 balusters, it is AMAZING how many different ideas they came up with!
- Fix This Build That
- Glued N Screwed
- DIY Huntress
- Sawdust To Sequins
- The House of Wood
- Shades of Blue Interiors
- Place of My Taste
- Bower Power Blog
- Making Home Base
- Build Basic
- Sawdust 2 Stitches
- My Love 2 Create
- Her Toolbelt
- Addicted 2 DIY
- That’s My Letter
- Ciburbanity
- Brooklyn Limestone
- Wills Casa
- The Bold Abode
- Remodelando La Casa
- The Batchelor Way
- The Kim Six Fix
- Heathered Nest
- Creatively Living
Have a wonderful week and hopefully you will be headed to your local Home Depot for a free workshop this weekend!!
Happy Building!

Want to save this DIY doormat for later? PIN it!


Great job, Cara! Your mat is so unique!
Looks fantastic! (I found you from Fix This Build That)
You went above and beyond girl! Wow!
xo – kb
WOW! You brought your serious A-game! Love it!
Very cool take! Also I’m loving those tulips in the boots!!
Cara this is so cool, awesome job!