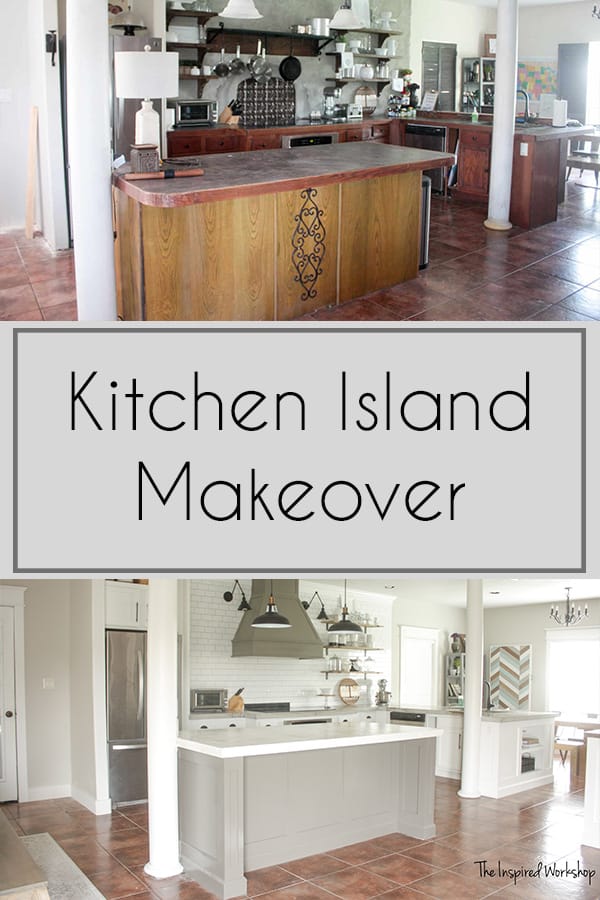
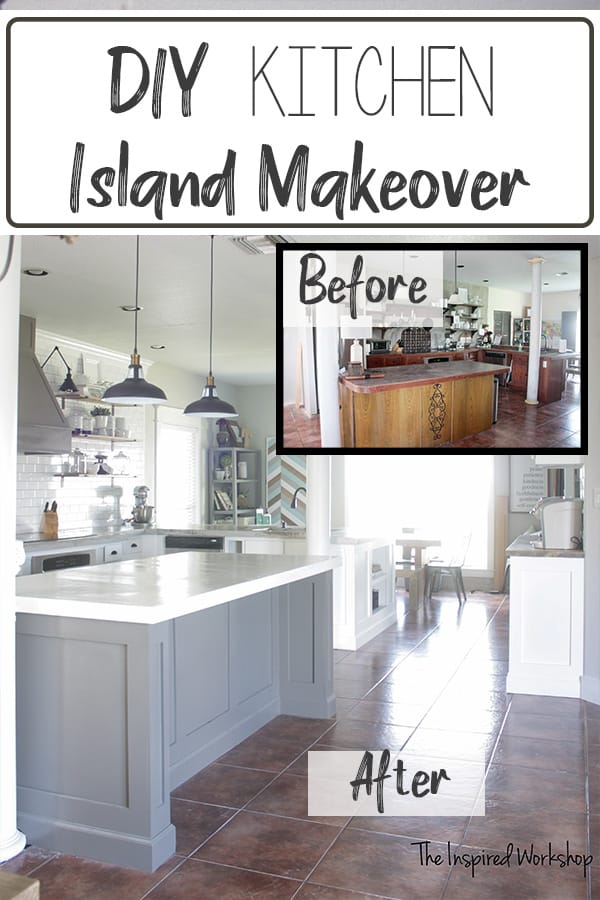
Kitchen Island Makeover
The kitchen island seems to be the place your kids, friends, and family love to hang out while you are cooking, cleaning, or everyone is eating! Make your kitchen island a comfortable place to hang and eat whether you have to build one from scratch or give the one you already have a kitchen island makeover, you can upgrade it quickly and easily with a little added plywood and molding!
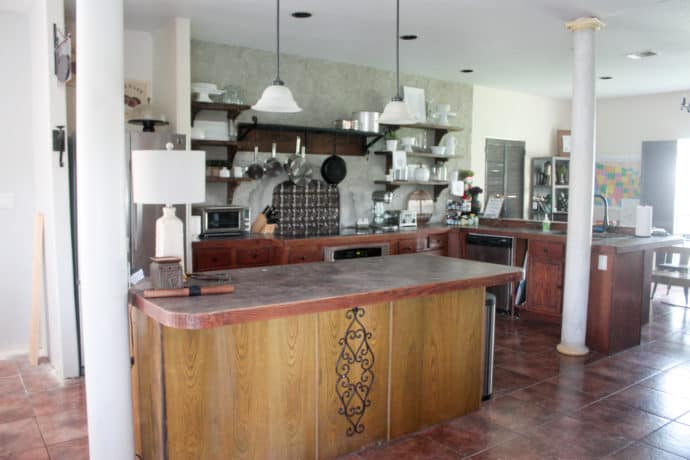
Check out the before!
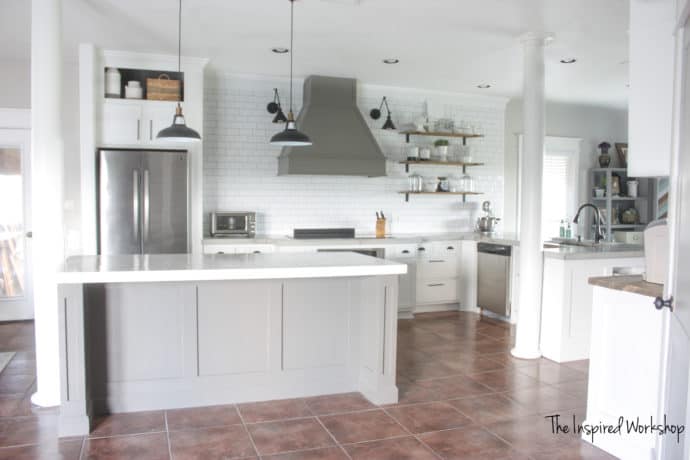
So much better now isn’t it! Lol!

Check out all the other kitchen renovation tutorials:
- DIY Concrete Countertops
- DIY Coffee Bar Cabinet
- Building a Cabinet Above the Fridge
- Vent Hood Plans
- Building Cabinets to Ceiling
- How to Paint Kitchen Cabinets
- How to Tile a Kitchen Wall
Story Time of the Kitchen Remodel – Kitchen Island Makeover
So I’ll start with the couple of setbacks we had! First up, ever since we moved in, the dishwasher was loose and set forward about 2 inches outside of the countertop. Of course, this isn’t right and has bothered me every day, every time I look at it! LoL!! Well, when we pulled the back off the peninsula which the dishwasher is part of, we realized that the water line was what it was running into!
So yeah, I was not about to let this hard work go down the drain and let that dishwasher annoy me every day in the beautiful new kitchen so my hubby redid all the plumbing for me!! Luckily I have him because I don’t know the first thing about plumbing…but after watching him, it seems pretty easy!! Beware this is more of a Halloween pic than a beauty pic but here is the redone plumbing so the dishwasher fits nicely in its place!
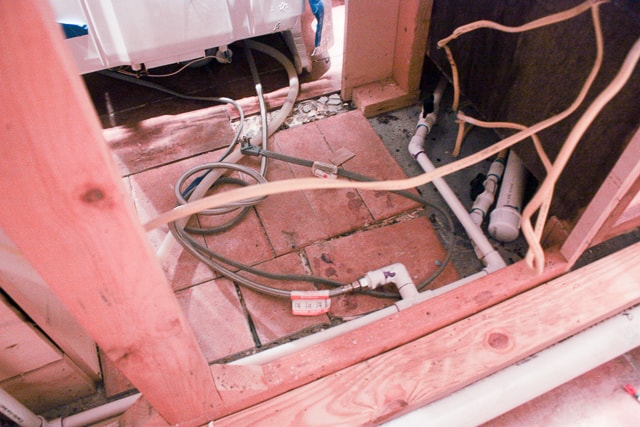
Don’t mind the old tile and complete nastiness, what do you clean under your dishwasher?😬
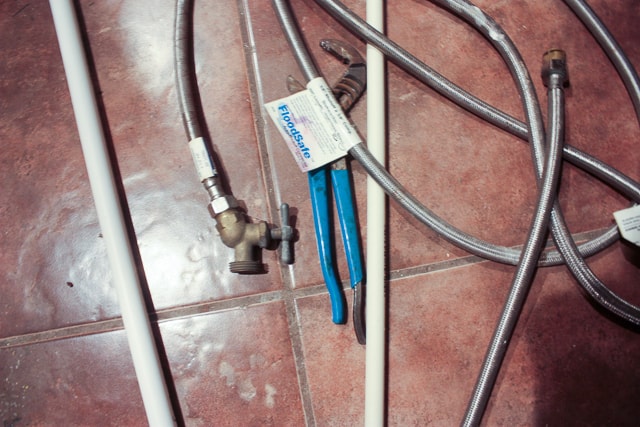
Another thing we noticed was that under the sink when we took the sink out there was no shut-off valve…there was only one and it was behind the dishwasher so again my hubby added shut-off valves under the sink!
Something else that had us cracking up because we had never seen anything like it was this water faucet that was under the sink! It was actually connected to the water lines! 😂😳 I mean maybe there is a reason you would want to be able to use a water hose in the kitchen that I am not aware of yet!! 🤪 I am not even kidding, don’t know why it was there, but it surely was!!
One last thing that set us back was that we were adding lights to the back wall that we freshly dry-walled…oopsie forgot to remind the hubs we were going to add lights while the wall was down to the studs…my husband LOVES it when I do this!! 😆 No he does NOT!! Anyway, there was a mess with the electrical about as silly as the plumbing…so he fixed that for us as well!!
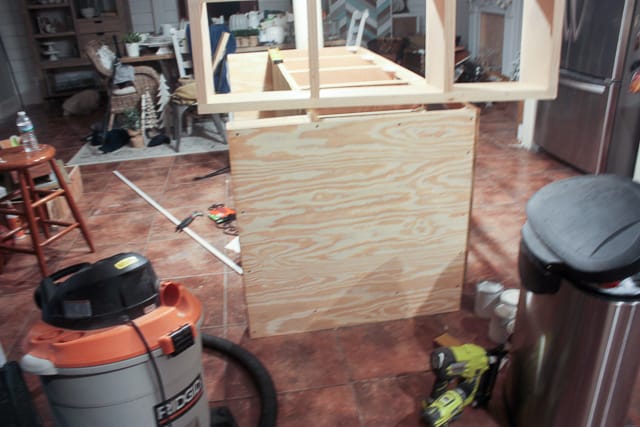
Okay, now we can finally talk about something other than problems! Lol!! So, did you see Gray’s Anatomy Thursday night? I kid, I kid!! I FINALLY built out the island!! It looks sooooo much better even though it is multi-colored at this point!!
I need to caulk it and add the baseboard and it is ready to go!! I am super excited about this…I know it’s not much but I’m telling you I am learning to celebrate the SMALL victories!! And I am just praying that I start knocking this stuff out left and right to get this done on time! Send me all the coffee…I see many many late nights over the next two weeks! Luckily sleep is so overrated!!
Adding the Molding and Legs for the Kitchen Island Makeover
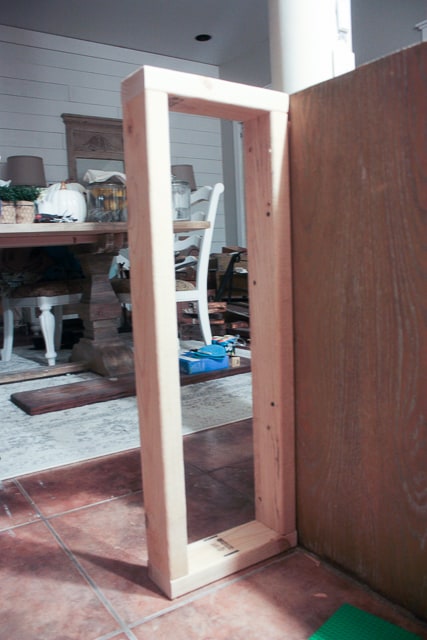
So, I was originally going to add sides to the island just like Jen from Build Basic did, but I have a pillar that sits right up against the island, so that wasn’t an option, I was only able to build to the back, not the sides! But I was still able to make it work, so no matter what your situation, there is always something you can still do to make your home more beautiful!
I built out two sides from 2x4s the same height as our island already was. It is 34″ tall just for reference without a countertop on it! I built them 11 1/4″ long, I kept them on the shorter side, I am going with concrete countertops and I don’t want to go too far out without too much support so after all the trim the seating overhang will be 13″.
I screwed them into the back of the island!
Try to pretend that there is no mess in any of the pics you see okay….thanks!! 😉
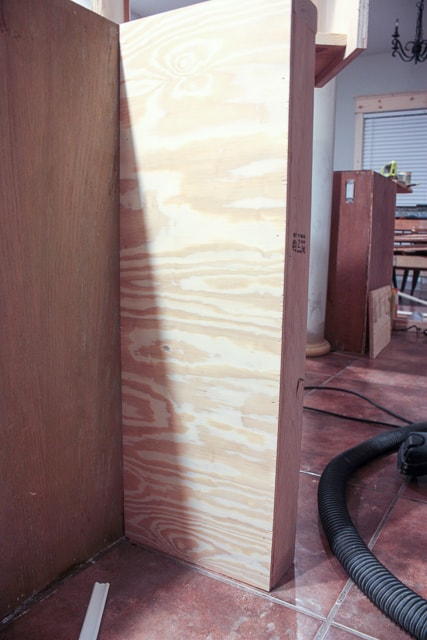
Then I measured and cut 1/4″ plywood to cover the entire side from front to back of the new ‘leg’…luckily I had just enough room in between the pillar and the island for the 1/4″ plywood! I screwed this to the 2x4s and the sides of the cabinets that make up the island! I covered the inside and outside!
To cut down on cost, I used 1/2″ MDF as my molding for the island, I normally will NOT use any formaldehyde-ridden products in my home but, this scrap plywood I used has it and the MDF has it! Lol!! The whole reason I say this plywood was ‘scrap’ was because I sent my husband to the store for 1/4″ plywood and I thought at this point in our marriage he would know better…but nope!! 😆 He tries really hard and always runs errands for me so I just had to mess with him, it’s not like he reads this anyway!! But it has sat in the garage because I refused to use it!!
So back to the MDF, I really didn’t have too many options, and this was super cost-effective! I do plan on using a VOC-blocking sealant before painting though to keep it from off-gassing! I bought 2 sheets of the MDF for 50 bucks and it did all the molding in my kitchen leaving me plenty to build something else with…even though I don’t want leftovers of this stuff!! 🤦♀️
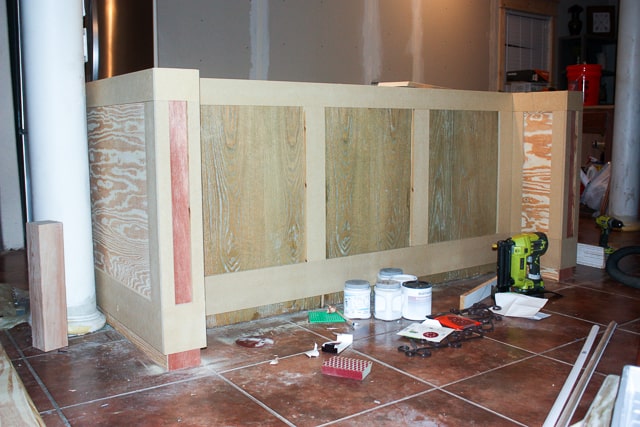
Anyway, since I was ripping down the MDF sheets I was able to get all the different sizes I needed! I did some molding in 1×6 size (which is 5 1/2″) I did some in 1×4 size, and then some cut in 3″, 2 1/4″, and 1 1/2″ sizes! If you do not have a table saw, don’t worry Kreg makes some awesome products like the Rip Cut (Affiliate link) to help you rip your sheets down to board sizes! It is only 39 bucks and WELL worth that!
After ripping all my boards down, I just cut them to length and brad nailed them up! I used 1x4s as the top and vertical boards. I used 1x6s as the bottom boards and lifted it up 2 1/4″ off the ground so that once I put the baseboard on it will look like it’s a 1×4! Then on the ends of the legs, I used 1x2s because they were so narrow!
I couldn’t agree more with the saying, “Caulk and paint make the carpenter what he ain’t!” after this project!! 🤣 I can’t wait to get the caulk on there so I don’t have to keep looking at my mistakes!!😬
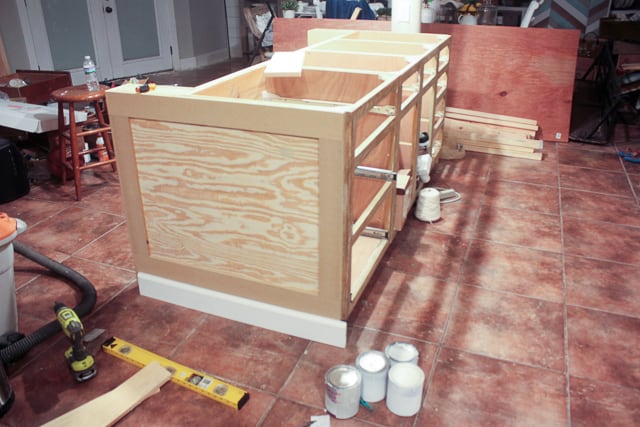
The base molding is just sitting there so I could see what it was going to look like!! Tomorrow I will get all the base molding on, and it’s going to be amazing!! You will never even know I used so many scraps once it is painted!!🤩
That pretty much sums up the week! Next week will actually have some noticeable improvements I am sure of it!! Lol!! So make sure and check back on THURSDAY!! Want to see the before? Want to see other progress? Here are the links to the others!
- Week 1 – Plans for kitchen and before pics
- Week 2 – Stripping the Cabinets
- Week 3 – Demo
- Week 4 – drywall and door trim
- Kitchen Reveal
Have a wonderful rest of the weekend!!

Want to save this Kitchen Island Makeover for later? PIN IT!